In SewStylish Spring 2017, author Susan Beal shows how to make pretty, one-of-a-kind hairpins and necklaces. Now, learn how to make wrapped loops–an essential technique to making your own jewelry.
- Place a bead on the eyepin you’ve just created. Grasp the wire just above the bead with round-nose pliers, and make another neat 90-degree angle bend above and over the tips, holding the wire tail with flat-nose pliers.
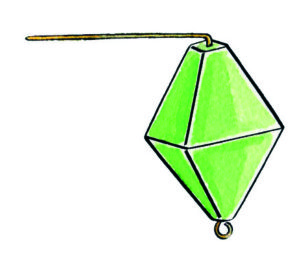
- Next, adjust the round-nose pliers so they are gripping on either side of the wire bend, above and below it. Use the flat-nose pliers to pull the wire tail over the end of the round-nose pliers and all the way around, creating a circle with an extra tail of wire still extending beyond it.
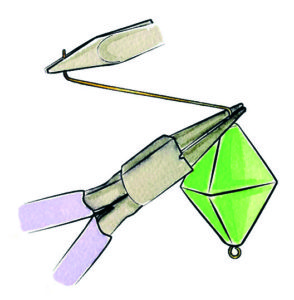
- Use the flat-nose pliers to hold the circle while you grip the end of the wire tail with the round-nose pliers.
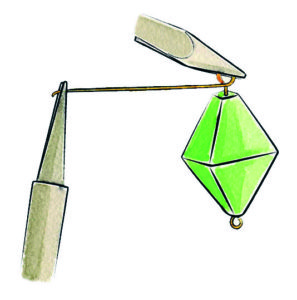
- Wrap the wire tail around the space above the bead, working from top to bottom to create a neat coil, and stop when you reach the top of the bead. If the wire coils on top of itself or starts to get messy, stop coiling and unwind it, then start again, going more slowly this time. If it’s really tangled or kinked, you can always start over with a new piece.
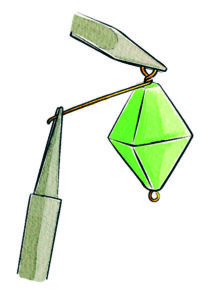
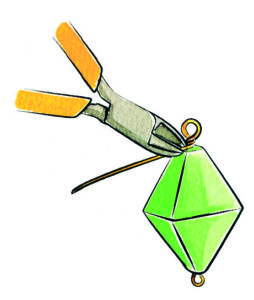
- Clip the end of the wire flush with the coil. Make sure the sharp edge isn’t sticking out—if it is, use flat-nose pliers to flatten and smooth it into the coil.
Tip: Practice with inexpensive craft wire until your loops are nice and even. Plain loops work best with thick wire (such as 20 gauge), while the more secure wrapped loops are good for thinner wire (24 gauge) but can also work well with thicker gauges, too.